Jupyter notebook
It is feasible to establish a Jupyter notebook operating on the HPC systems. This procedure is uncomplicated on GNU/Linux and macOS, owing to the presence of integrated terminal programs and an SSH client.
To begin with, you will need to submit an interactive job using the salloc command:
$ salloc --nodes=1 --ntasks=4 --qos=regular --time=2:00:00 --mem=20gb srun --pty /bin/bash
Upon executing the command, you will be instantly connected to the computing node. From there, you will need to load a Python module that is equipped to support Jupyter or leverage your own Python installation.
As an illustration, the following command will load the default Python version on the compute nodes:
$ module load Python
Now you would be ready to start a Jupyter notebook:
$ jupyter notebook --no-browser --ip 0.0.0.0

[I 23:32:12.176 NotebookApp] http://atlas-fdr-login-01.sw.ehu.es:8888/?token=96c4313ea8e60100ae818ab36df28a49f8d9525285c09727
[I 23:32:12.176 NotebookApp] Use Control-C to stop this server and shut down all kernels (twice to skip confirmation).
[C 23:32:12.178 NotebookApp]

    Copy/paste this URL into your browser when you connect for the first time,
    to login with a token:
        http://atlas-XXX:8888/?token=96c4313ea8e60100ae818ab36df28a49f8d9525285c09727
Now it is time to create a tunnel to redirect the port 8888 in the compute node to a local port of your selection (in the example we will keep both ports the same). In a new terminal:
ssh -L 8888:atlas-XXX:8888 username@atlas-edr.sw.ehu.es -N
Open up a browser and go to:
localhost:8888/?token=96c4313ea8e60100ae818ab36df28a49f8d9525285c09727
Tokens will be different each time you start up a new Jupyter notebook.
In the event the port 8888 is already taken you can change it using --port option when starting the notebook:
jupyter notebook --no-browser --port <port of your choice> --ip 0.0.0.0
Adding custom kernels to your notebooks
Given the following enviroments
$ conda env list
# conda environments:
#
base                  *  /scicomp/EasyBuild/CentOS/7.4.1708/Skylake/software/Anaconda3/2019.10
tensorflow-2.1.0-gpu_py37h7a4bb67_0     /scicomp/EasyBuild/CentOS/7.4.1708/Skylake/software/Anaconda3/2019.10/envs/tensorflow-2.1.0-gpu_py37h7a4bb67_0
We can add the custom kernel by
conda activate tensorflow-2.1.0-gpu_py37h7a4bb67_0
python -m ipykernel install --user --name=tensorflow-2.1.0-gpu_py37h7a4bb67_0
Warning
You need to activate the target enviroment before adding the custom kernel.
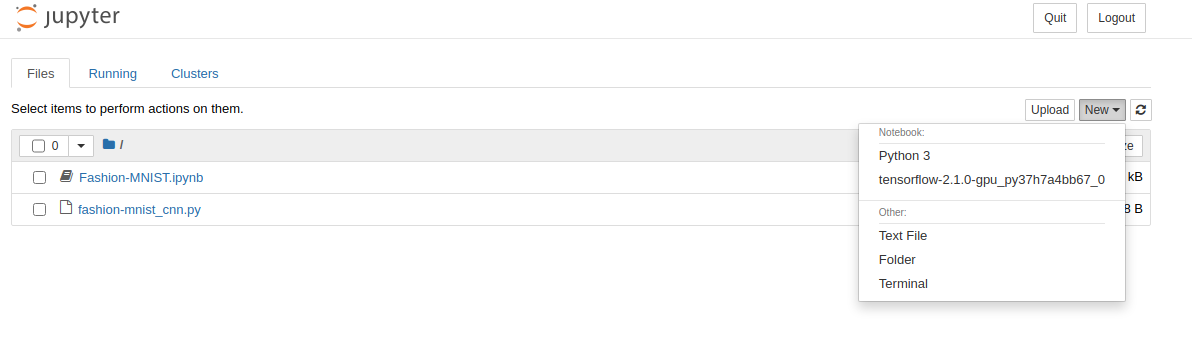
Now if we list all available kernels in the notebook, the custom kernel should appear: